Smart Home Security Meets AI: Are You Ready for the Future?
Imagine a home that watches, learns, and reacts—without you lifting a finger. AI‑driven security isn’t a sci‑fi fantasy; it’s a practical, affordable reality that can protect families, deter intruders, and give you peace of mind at the tap of a smartphone.
| Item | Why You Need It | Optional / Alternatives |
|——|—————-|————————–|
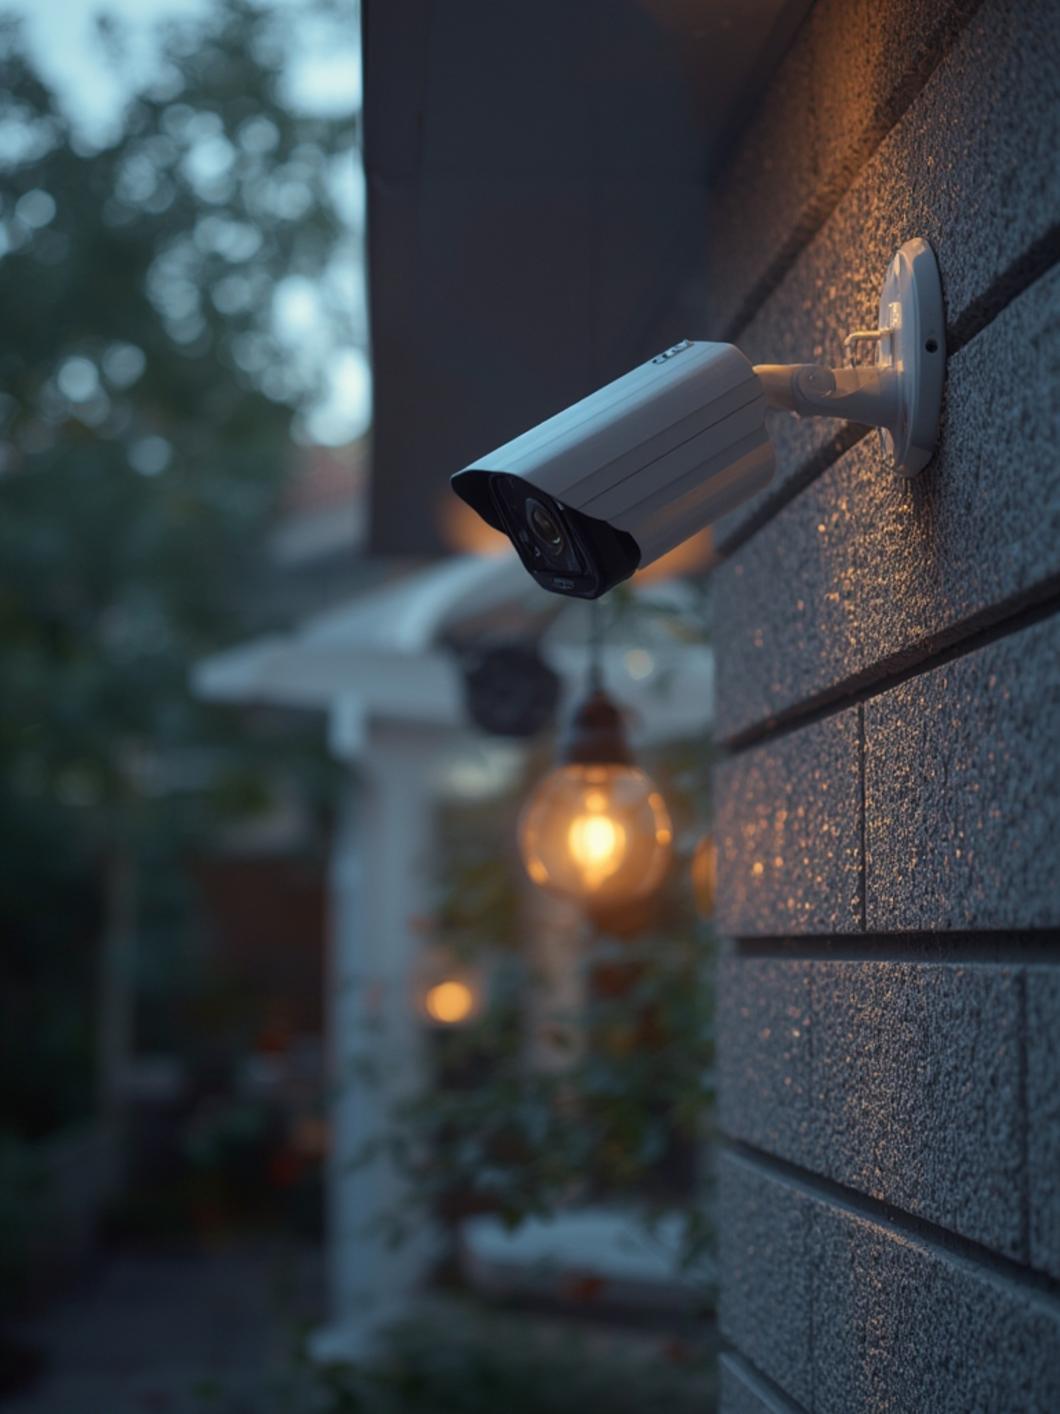
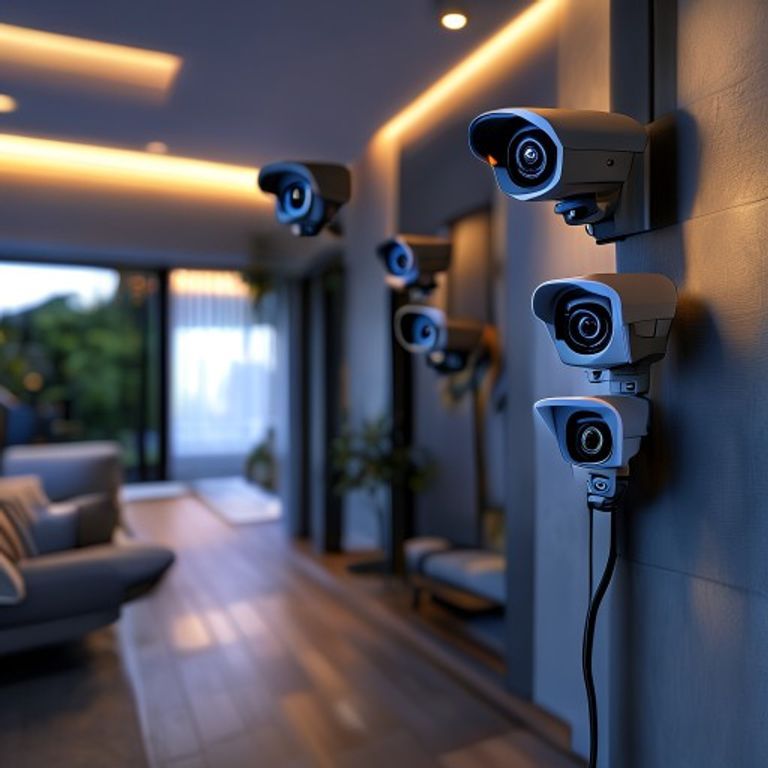
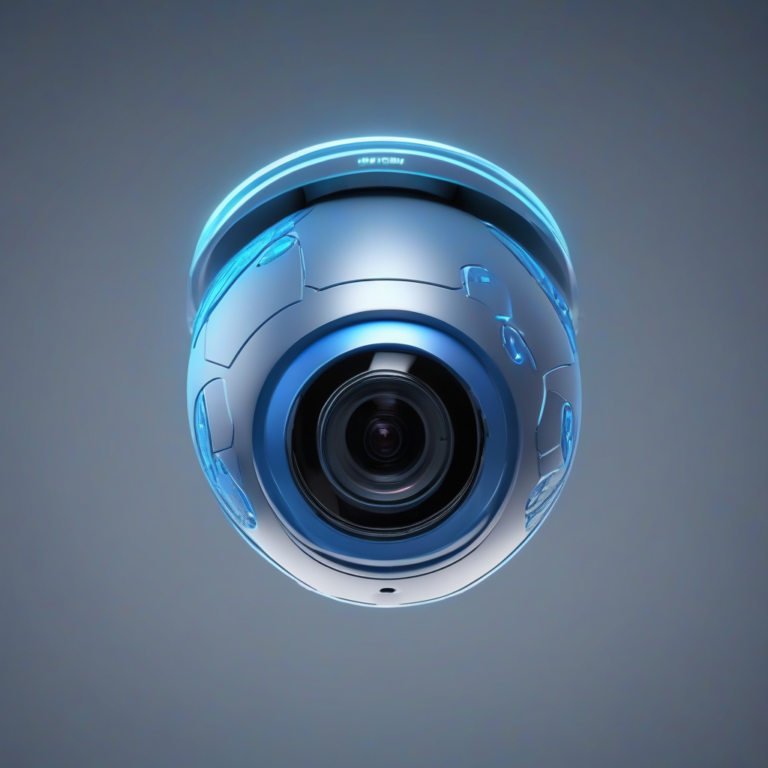
| AI‑enabled smart cameras | Core visual sensors that process motion, faces, and objects on‑device. | Z‑Wave or Zigbee cameras for legacy hubs. |
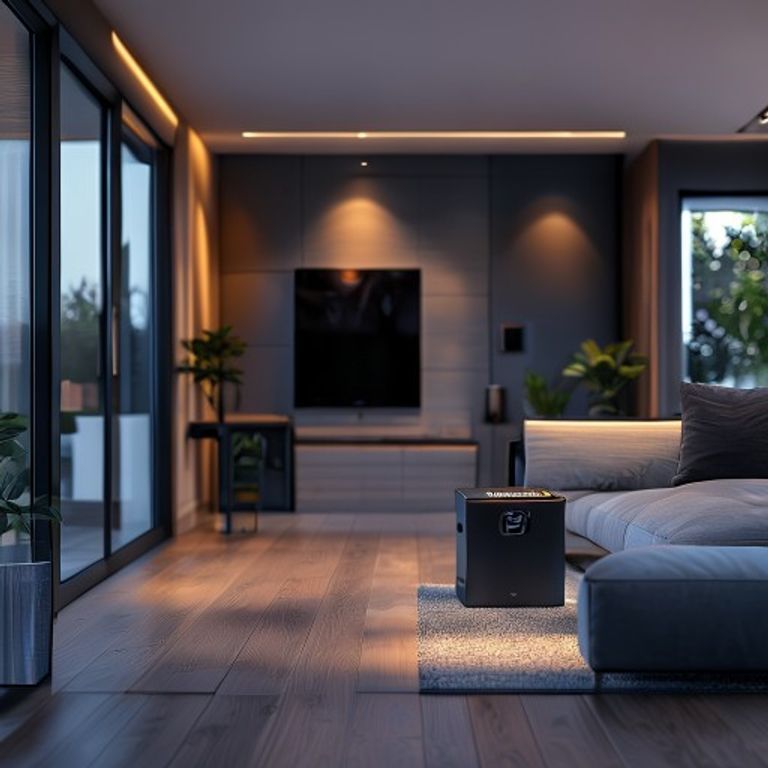
| AI‑powered hub or bridge | Central brain that aggregates data, runs inference, and coordinates alerts. | Cloud‑only platforms (e.g., Nest Aware) if local processing isn’t required. |
| Smart motion sensors | Detect subtle vibrations and trigger camera recording before a breach. | Door/window contact sensors as a cheaper supplement. |
| Smart locks & doorbells | Provide two‑factor entry verification and integrate with video feeds. | Traditional deadbolts with Bluetooth adapters. |
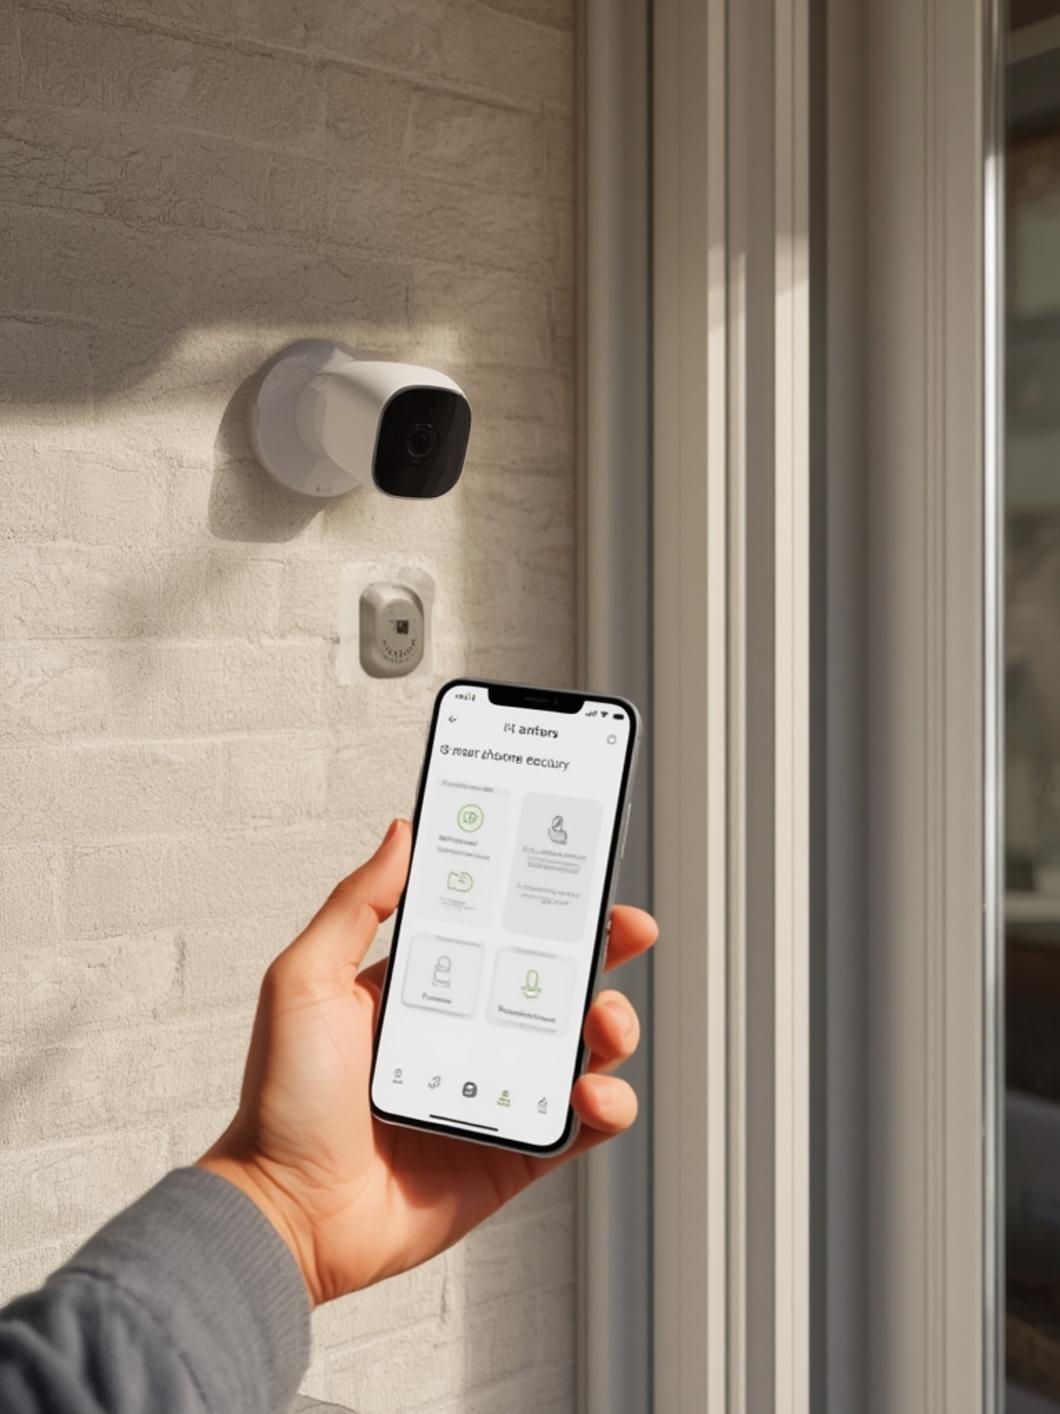
| Mobile app (iOS/Android) | Remote monitoring, push notifications, and AI rule configuration. | Web dashboard for desktop‑only users. |
| Power adapters / PoE injectors | Ensure uninterrupted power for outdoor units. | Solar‑powered kits for eco‑friendly setups. |
| Mounting brackets & protective housings | Secure placement and weatherproofing. | Velcro straps for temporary installations. |
—
Timing / Installation Schedule
| Phase | Estimated Duration | What Happens |
|——-|———————|————–|
| Pre‑Installation Planning | 30–45 min | Map camera coverage, decide on hub location, and verify Wi‑Fi strength. |
| Hardware Setup | 1–2 hrs | Mount cameras, connect power, pair sensors, and install the hub. |
| Software Configuration | 30–60 min | Download the app, create a user profile, and calibrate AI detection thresholds. |
| Activation & Testing | 15–20 min | Run a simulated intrusion test, adjust angles, and finalize alert settings. |
Compared to a classic analog system, the AI‑enhanced workflow shortens the “ready‑to‑use” period by roughly 40 %, allowing you to protect your home the same day you unpack the kit.
—
Step‑By‑Step Instructions
1. Assess Coverage Zones – Sketch a floor plan, noting high‑traffic entry points. Prioritize corners where a clear line‑of‑sight is possible.
2. Mount the Cameras – Use the supplied brackets; for outdoor units, drill into a stud or use a pole mount. Ensure the lens faces the intended zone, avoid direct sunlight.
3. Connect Power & Network – Plug in the adapters, then pair each device to your Wi‑Fi 2.4 GHz band (or PoE switch).
4. Install the Hub – Place it centrally, preferably near your router, to minimize latency. Follow the on‑screen wizard to link every camera.
5. Configure AI Settings – Within the mobile app, enable “person detection,” set “sensitivity levels,” and select “auto‑zone masking” to ignore pets or moving curtains.
6. Add Motion Sensors & Smart Locks – Pair these via the hub, then create automation rules (e.g., If motion detected → record 30 s and send push notification).
7. Test the System – Walk through each zone, trigger the sensors, and confirm that the app receives alerts with clear video clips.
8. Finalize Naming & Permissions – Label each camera (e.g., “Front Door Cam”) and assign family members specific access rights.
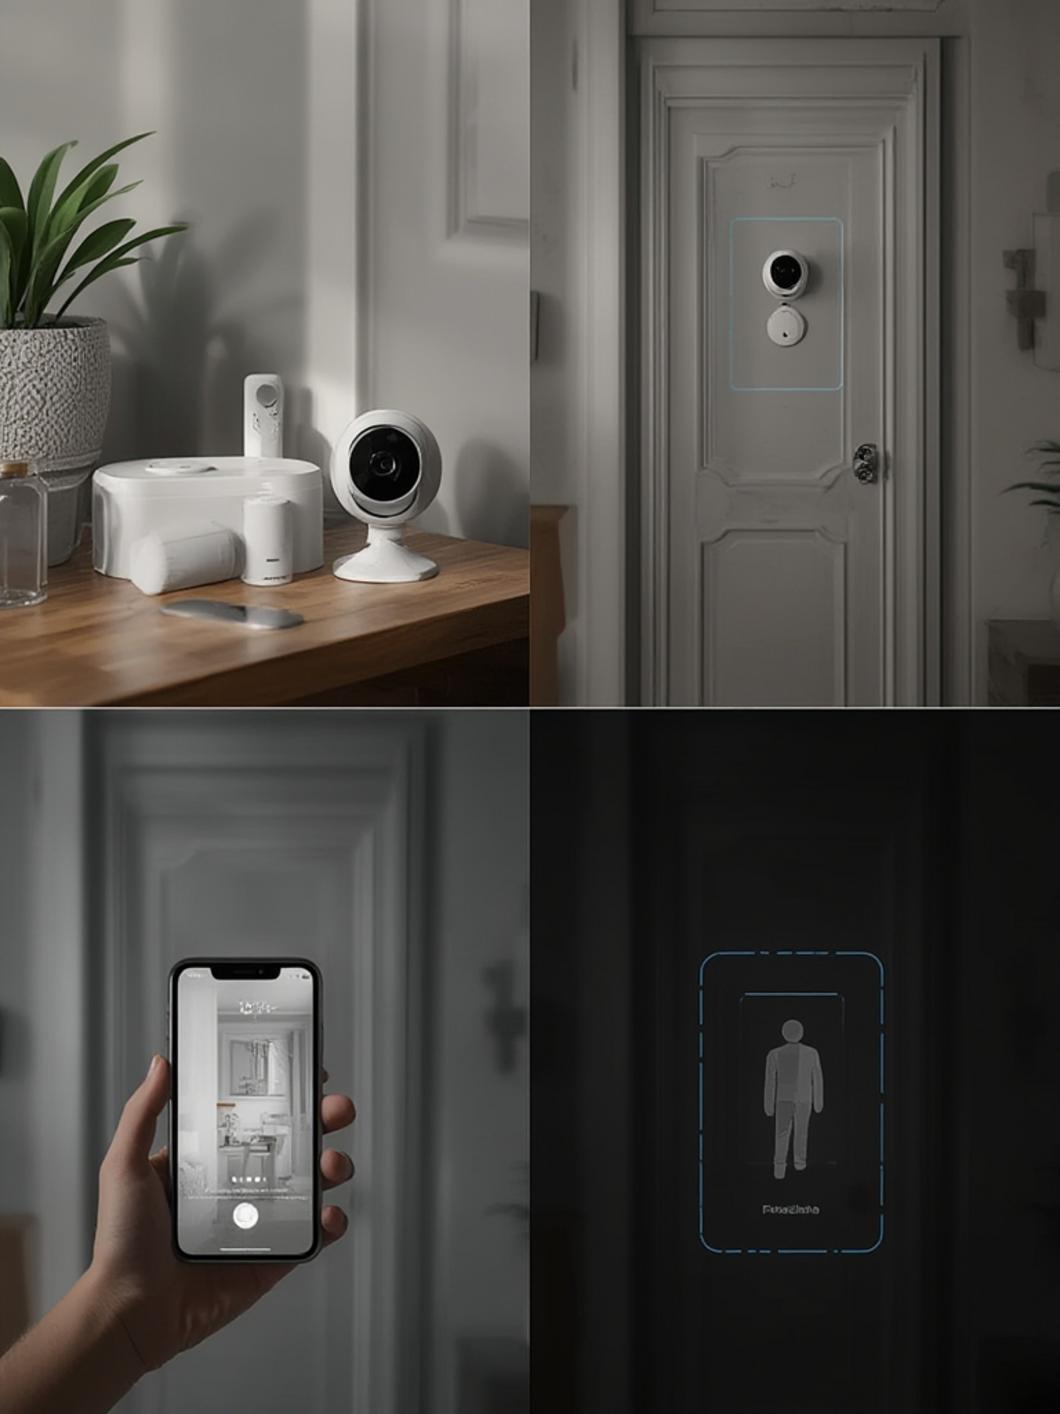
– Real‑Time Threat Classification – AI distinguishes between humans, animals, and vehicles, dramatically cutting false alarms.
– Automated Response – Integrated locks can auto‑lock when an unknown face is detected, while lights turn on to deter trespassers.
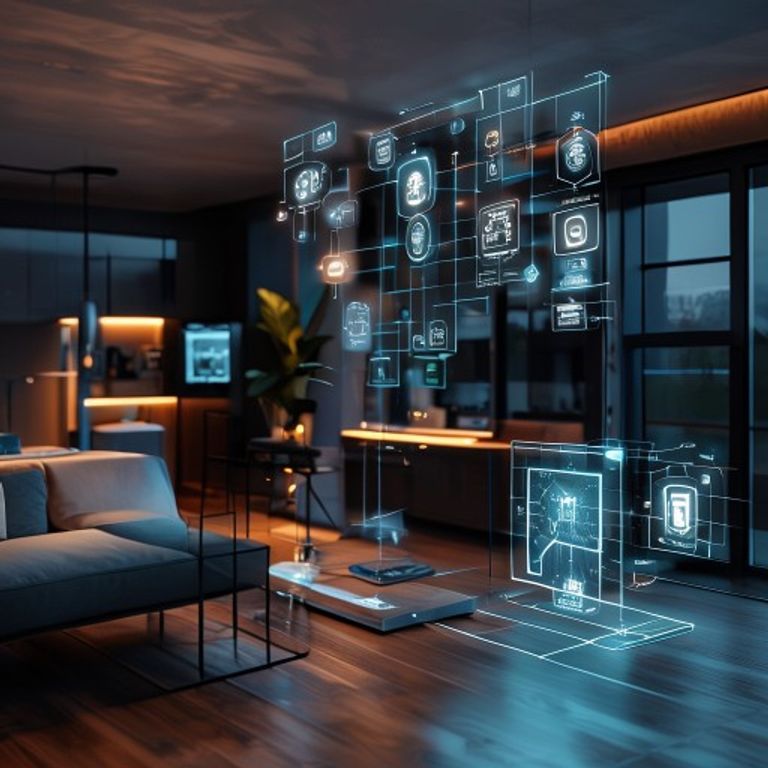
– Remote Monitoring – Stream high‑definition, AI‑annotated footage to any device, even on low‑bandwidth connections.
– Learning Over Time – The system adapts to routine patterns (e.g., daily deliveries) and fine‑tunes sensitivity without manual reconfiguration.
– Data Privacy – Edge processing keeps video analysis on‑device, reducing reliance on cloud servers and safeguarding personal footage.
—
Tips, Alternative Methods, or Installation Advice
– DIY vs. Professional – If you’re comfortable with basic tools, a DIY setup saves up to 30 % of installation costs. For multi‑story homes, a professional can guarantee optimal placement and wiring.
– Cloud vs. Local AI – Cloud AI offers richer analytics but incurs subscription fees. Local AI keeps data in‑home and works offline, ideal for privacy‑focused users.
– Indoor vs. Outdoor – Outdoor units need weather‑sealed housings and night‑vision IR LEDs; indoor cameras benefit from wide‑angle lenses and aesthetic design.
– Integration – Pair with voice assistants (Alexa, Google Assistant) for hands‑free playback and status queries.
– Seasonal Adjustments – In winter, clear snow from lenses; in summer, ensure vented housings don’t overheat.
—
Common Mistakes to Avoid
| Mistake | Impact | Solution |
|———-|——–|———-|
| Weak or default passwords | Easy entry for hackers | Use a unique, 12‑character password with mixed symbols. |
| Improper camera placement | Blind spots or glare | Test angles with the app’s live view before final mounting. |
| Outdated firmware | Vulnerable to exploits | Enable automatic updates or schedule monthly checks. |
| Over‑reliance on Wi‑Fi | Connection drops cause blind periods | Consider wired PoE for critical zones. |
| Neglecting privacy zones | Unwanted recordings of neighbors | Use the app’s masking tool to block non‑essential areas. |
—
Storage / Maintenance Tips
– Local Storage – Insert a high‑capacity microSD (≥ 128 GB) into each camera; set circular overwrite to keep the most recent footage.
– Cloud Backup – Subscribe only if you need long‑term archival; choose a plan with end‑to‑end encryption.
– Routine Cleaning – Wipe lenses with a microfiber cloth monthly; avoid using chemicals that could damage anti‑glare coatings.
– System Health Checks – Run the app’s diagnostic feature quarterly to verify sensor connectivity and battery health for wireless devices.
– Firmware Updates – Schedule automatic night‑time updates to minimize downtime.
—
Conclusion
Implementing AI‑driven smart home protection transforms your house from a passive structure into an active guardian. By thoughtfully deploying home security cameras alongside wireless home security cameras, you gain instant alerts, intelligent threat analysis, and seamless integration with the rest of your smart ecosystem. Ready to upgrade? Install the kit, test the AI, and share your experience in the comments or on social media. Your feedback helps us refine the guide and empowers other homeowners to embrace the future of security today.
—
FAQs
1. Do I need a high‑speed internet connection?
AI processing can run locally, but streaming video benefits from at least 5 Mbps upload speed per camera for smooth live view.
2. Can the system work during a power outage?
Yes—pair cameras with UPS units or choose battery‑powered wireless models that continue recording for several hours.
3. How does AI differentiate between my dog and an intruder?
Machine‑learning models are trained on millions of images; you can fine‑tune “pet mode” in the app to suppress animal alerts.
4. Is it safe to store footage in the cloud?
When using reputable providers with end‑to‑end encryption, cloud storage is secure. For maximum privacy, rely on local microSD storage.
5. What happens if the Wi‑Fi signal is weak in the backyard?
Consider a Wi‑Fi extender or a PoE‑powered camera wired directly to your router for reliable connectivity.
Old security cameras dump hours of useless footage straight onto your phone. A leaf blows across the lawn, and your app screams about an intruder. You check the feed, see nothing, then mute the notifications. I hate this endless cycle; it defeats the entire purpose of a smart home. You need technology that tells the…
Burglars adapt their tactics constantly. Therefore, homeowners need smarter defenses. Traditional alarms only react to broken windows or opened doors. They fail to stop clever intruders. AI home security systems predict and prevent threats before they escalate. I think you deserve a system that actually thinks on its feet. This guide explores the best AI…
Edge AI security cameras for smarter home protection in 2024 This is a blog article about edge AI security cameras, formatted with HTML headings, internal and external links, and a complete meta section at the end. “`html Home security has changed more in the last two years than in the previous decade. The biggest shift?…
I remember when home security meant staring at grainy footage of a raccoon stealing the trash. Traditional motion sensors just blast your phone with pointless alerts every time a tree branch sways. You end up ignoring the very system you bought to protect your family. However, technology finally offers a better way to protect your…
Securing massive device networks in 2026 is harder than just using basic firewalls. I think you need advanced simulation to predict and stop threats before they hit your infrastructure. Digital twin IoT security platforms are essential here. These systems create a live virtual replica of your entire network, letting you test defenses safely. As a…
Edge AI home security is no longer a futuristic concept — it is here. Your security camera can now recognize faces, spot packages, and tell the difference between a neighbor and a stranger, all without sending a single frame of video to the cloud. That is the reality of on-device intelligence in 2026. A growing…