Smart Thermostat Guide: How to Choose, Install, and Save Energy
When you upgrade to a smart thermostat, you gain precise control over heating and cooling, slash energy costs, and enjoy the convenience of managing your home climate from any smartphone.
This guide walks you through selecting the right model, installing it correctly, and maximizing savings.
Table of Contents
Materials and Components
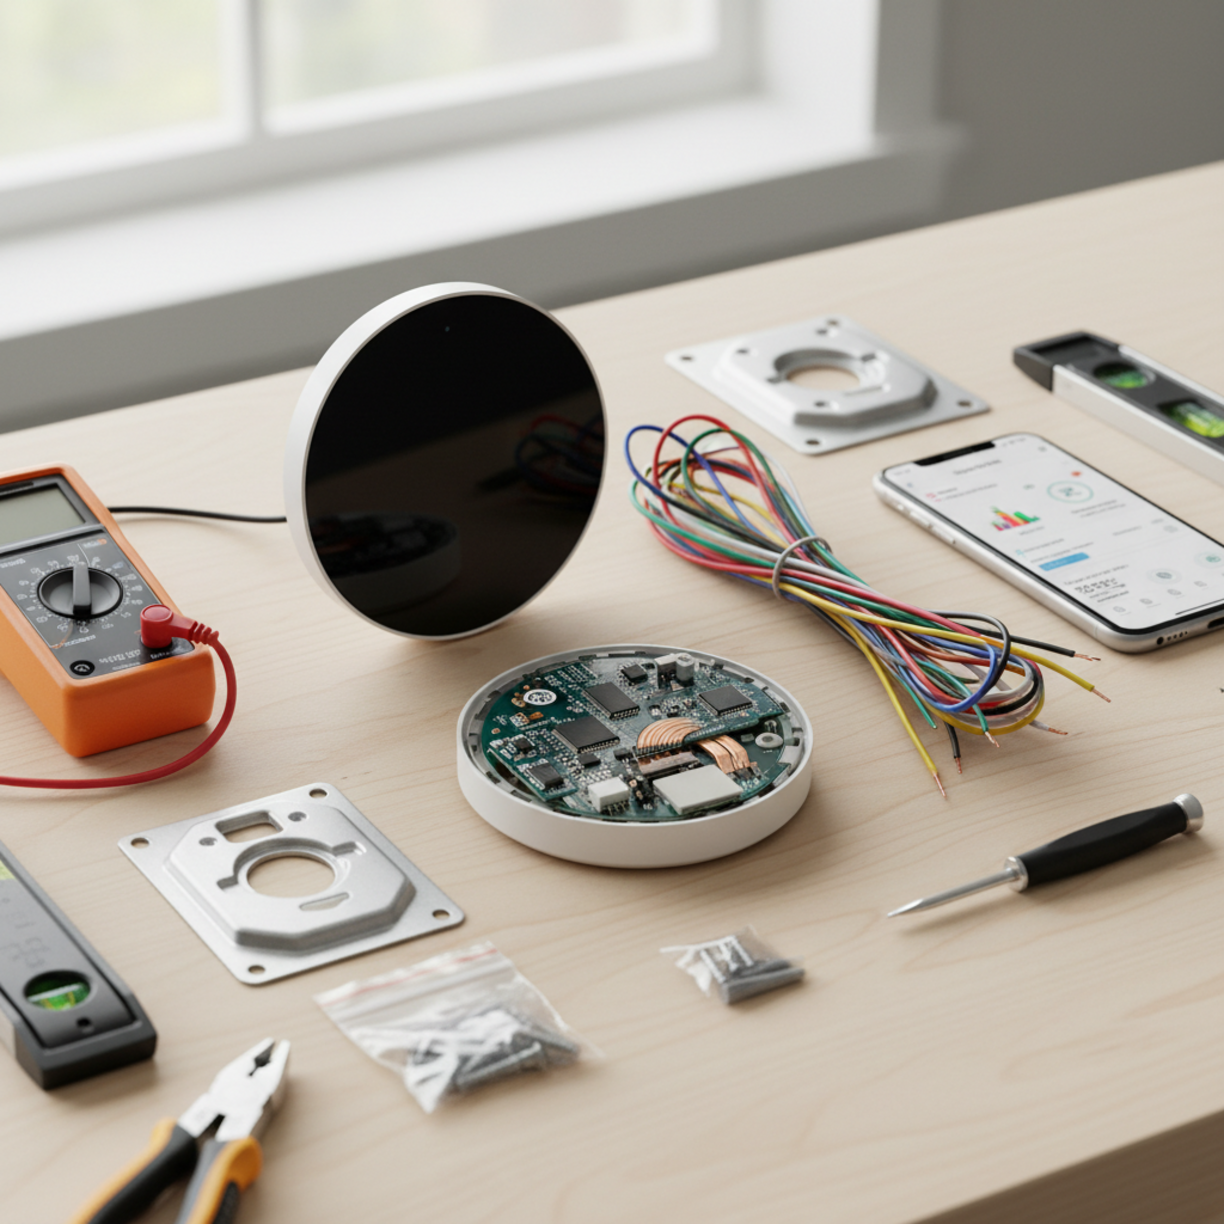
Before you begin, gather the essential tools and parts:
- Compatible smart thermostat unit (check HVAC compatibility)
- Screwdriver set (Phillips and flat‑head)
- Drill with appropriate bits for mounting
- Level and mounting hardware
- Wire nuts and electrical tape
- Smartphone or tablet with the thermostat’s app installed
- Internet connection (Wi‑Fi 2.4 GHz recommended)
For a quick reference on model compatibility, consult the manufacturer’s website. If you need a reliable example of a smart thermostat that integrates well with most systems, look for units that support both Nest and Ecobee protocols.
Planning and Setup Timeline
Allocate about 60–90 minutes for a typical installation. Follow this timeline:
- Day 1 – Research: Review specifications, read user reviews, and confirm Wi‑Fi coverage.
- Day 2 – Prepare: Turn off power at the breaker, label existing wires, and clear the wall area.
- Day 3 – Install: Mount the new thermostat, connect wires, and restore power.
- Day 4 – Configure: Download the app, connect to Wi‑Fi, and run the setup wizard.
- Day 5 – Optimize: Set schedules, enable geofencing, and review energy reports.
Use an online smart thermostat buying guide to compare features such as learning algorithms, voice assistant support, and multi‑zone capabilities.
How to Set It Up
Follow these steps for a hassle‑free installation:
- Turn off the HVAC system at the circuit breaker.
- Remove the old thermostat base, taking note of wire colors and terminals.
- Label each wire with the stickers provided by the new thermostat.
- Mount the new base plate, ensuring it’s level.
- Connect the wires to the corresponding terminals (e.g., R, C, Y, W).
- Secure the thermostat faceplate and turn the power back on.
- Open the companion app, create an account, and follow the on‑screen pairing instructions.
- Test heating and cooling cycles to confirm proper operation.
Key Benefits and Use Cases
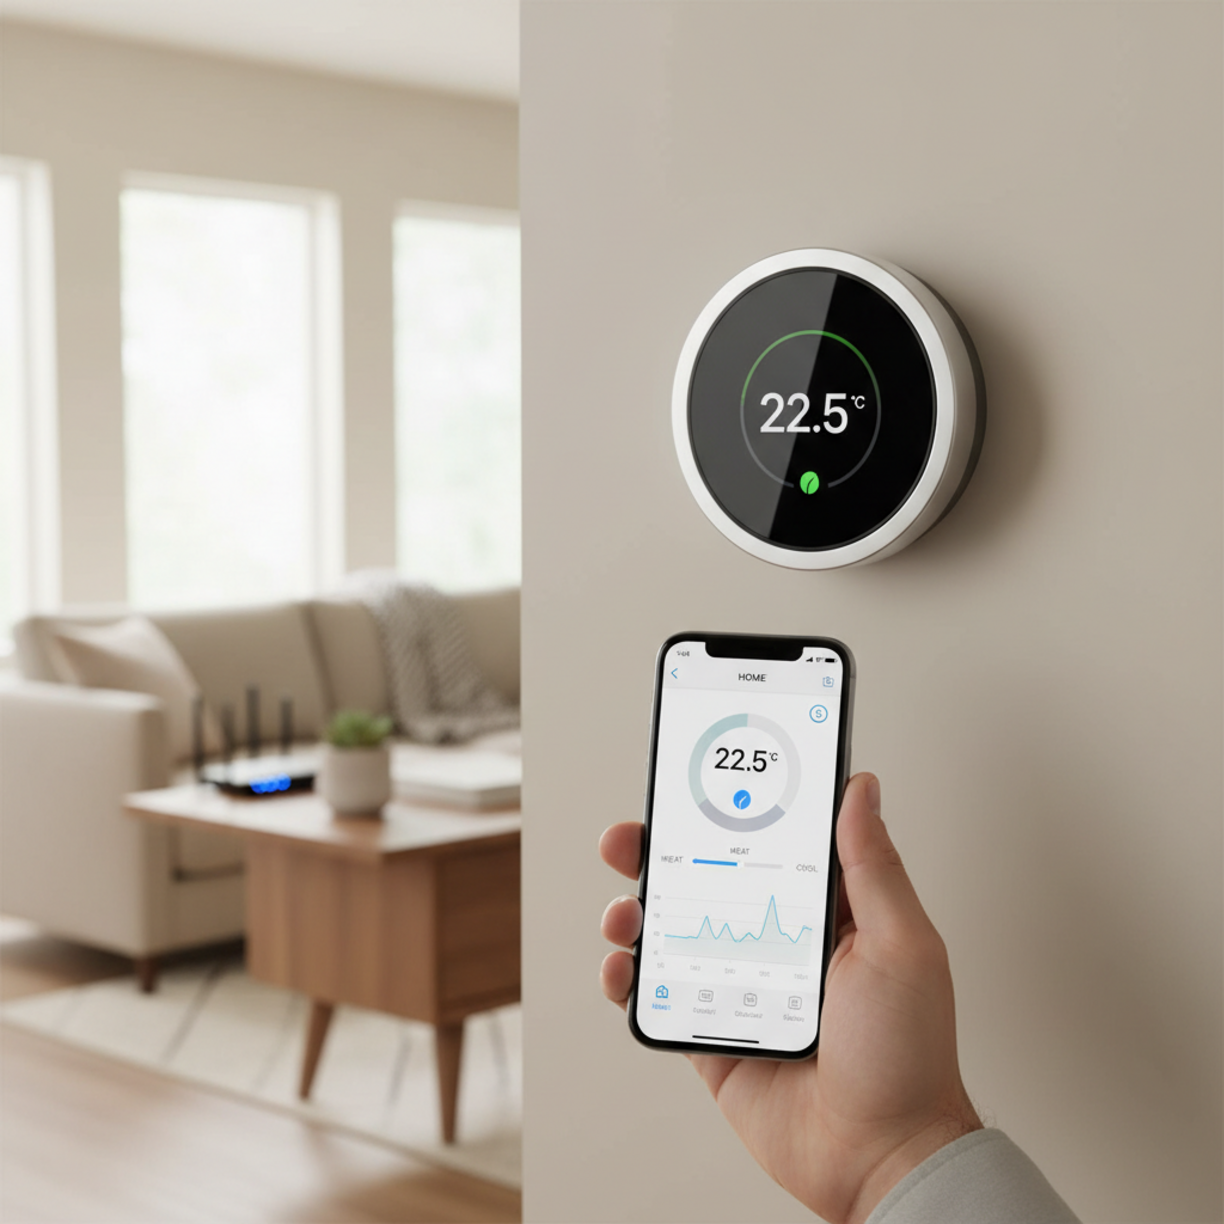
Why a smart thermostat matters for energy savings
A smart thermostat learns your schedule, adjusts temperature automatically, and can be controlled remotely. Real‑time monitoring alerts you to unusual usage, while geofencing reduces heating or cooling when you’re away. Typical use cases include:
- Homeowners seeking lower utility bills.
- Renters who want easy, non‑invasive climate control.
- Smart‑home enthusiasts integrating voice assistants.
- Families with varying comfort preferences across rooms.
Best Practices and Expert Tips
To extract maximum value:
- Place the thermostat away from direct sunlight, drafts, or heat sources.
- Enable the “away mode” or geofencing feature whenever you leave home.
- Set a modest temperature differential (e.g., 1–2 °F) to avoid over‑conditioning.
- Regularly review the app’s energy reports and adjust schedules accordingly.
- Integrate with other smart devices (lights, blinds) for holistic climate management.
Common Problems and Fixes
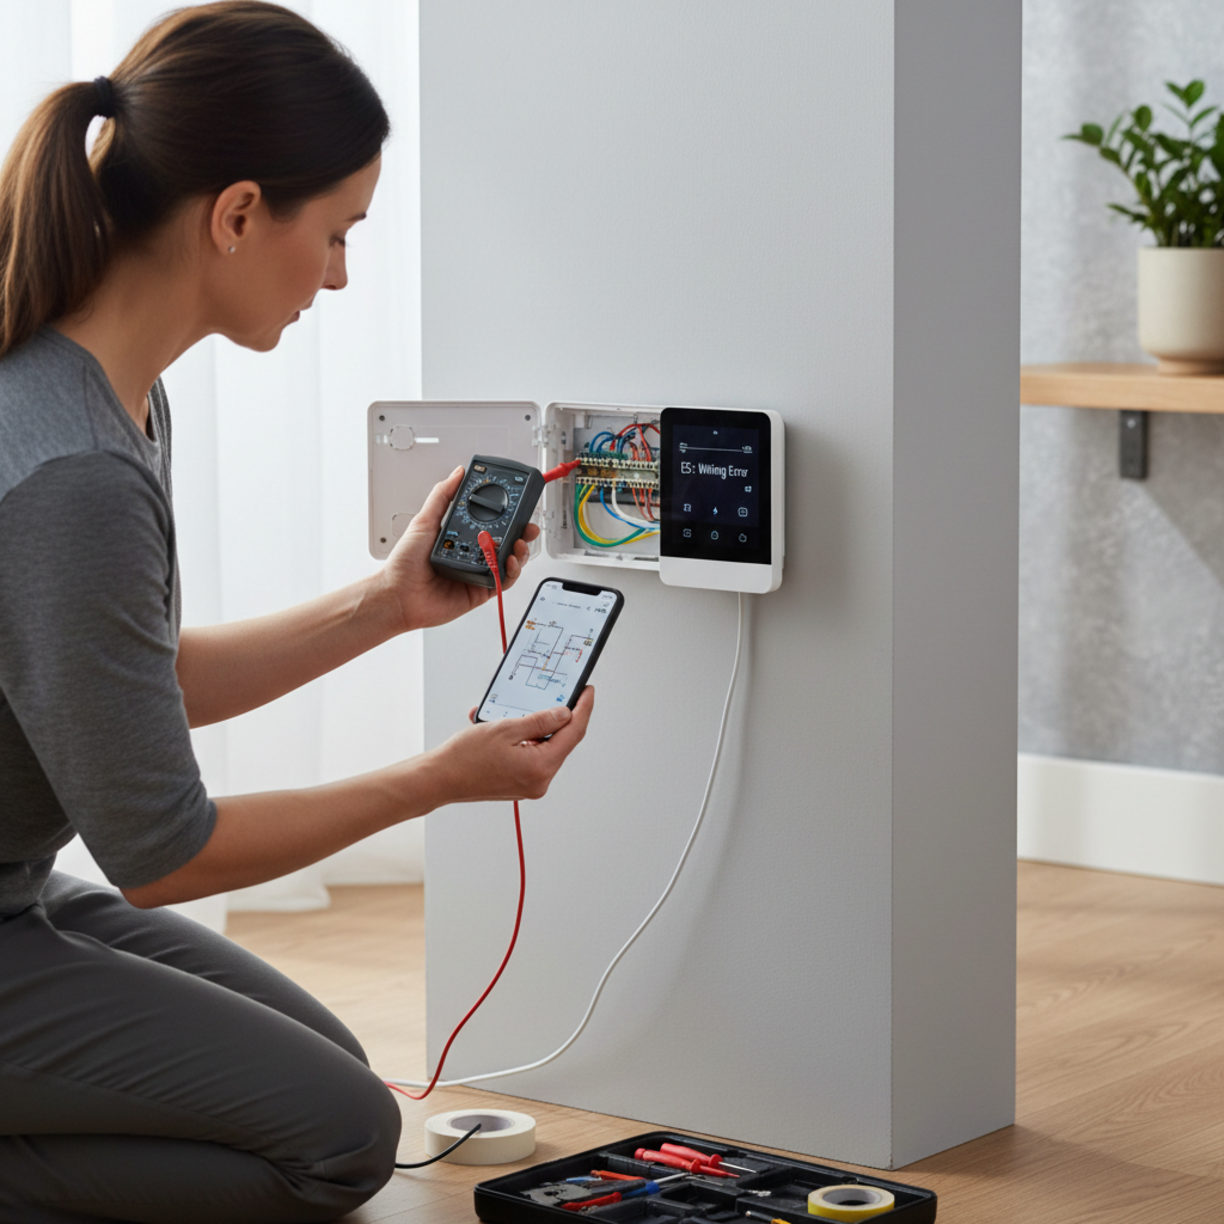
Encountering issues? Here are frequent hiccups and how to resolve them:
- No Wi‑Fi connection: Restart the router, ensure the thermostat is within range, and re‑enter network credentials.
- Incorrect temperature readings: Calibrate the sensor in the app or relocate the unit away from heat sources.
- HVAC won’t turn on: Verify that the C‑wire is properly connected; some models require a power‑extender kit.
- App sync failures: Update both the thermostat firmware and the mobile app to the latest versions.
Maintenance and Long-Term Reliability
Smart thermostats are low‑maintenance, but a few annual checks keep them reliable:
- Inspect wiring for looseness or corrosion.
- Clean the exterior with a soft, dry cloth.
- Check for firmware updates each quarter.
- Review battery health (if applicable) and replace as needed.
- Re‑evaluate schedules seasonally to align with changing weather patterns.
Conclusion
Investing in a smart thermostat delivers tangible energy savings, enhanced comfort, and seamless integration with modern smart‑home ecosystems. By following this guide—from careful selection and planning to proper installation and ongoing maintenance—you’ll enjoy a smarter, greener home for years to come.
FAQs
Can I install a smart thermostat myself?
Yes, most models are designed for DIY installation. As long as you follow safety precautions—turning off power and correctly labeling wires—you can complete the setup in under two hours.
Do I need a C‑wire for every smart thermostat?
Many newer units include power‑extender kits that eliminate the need for a dedicated C‑wire, but having one simplifies installation and ensures consistent power.
How much can I expect to save on my energy bill?
Typical savings range from 10 % to 23 % annually, depending on climate, usage habits, and the thermostat’s learning capabilities.
Will a smart thermostat work with my existing HVAC system?
Most smart thermostats support standard heating and cooling systems (single‑stage, multi‑stage, heat pump). Verify compatibility on the manufacturer’s website before purchase.
Is my data secure when using a smart thermostat?
Reputable brands encrypt data transmission and offer two‑factor authentication. Keep the firmware updated and use strong, unique passwords for your home Wi‑Fi network.