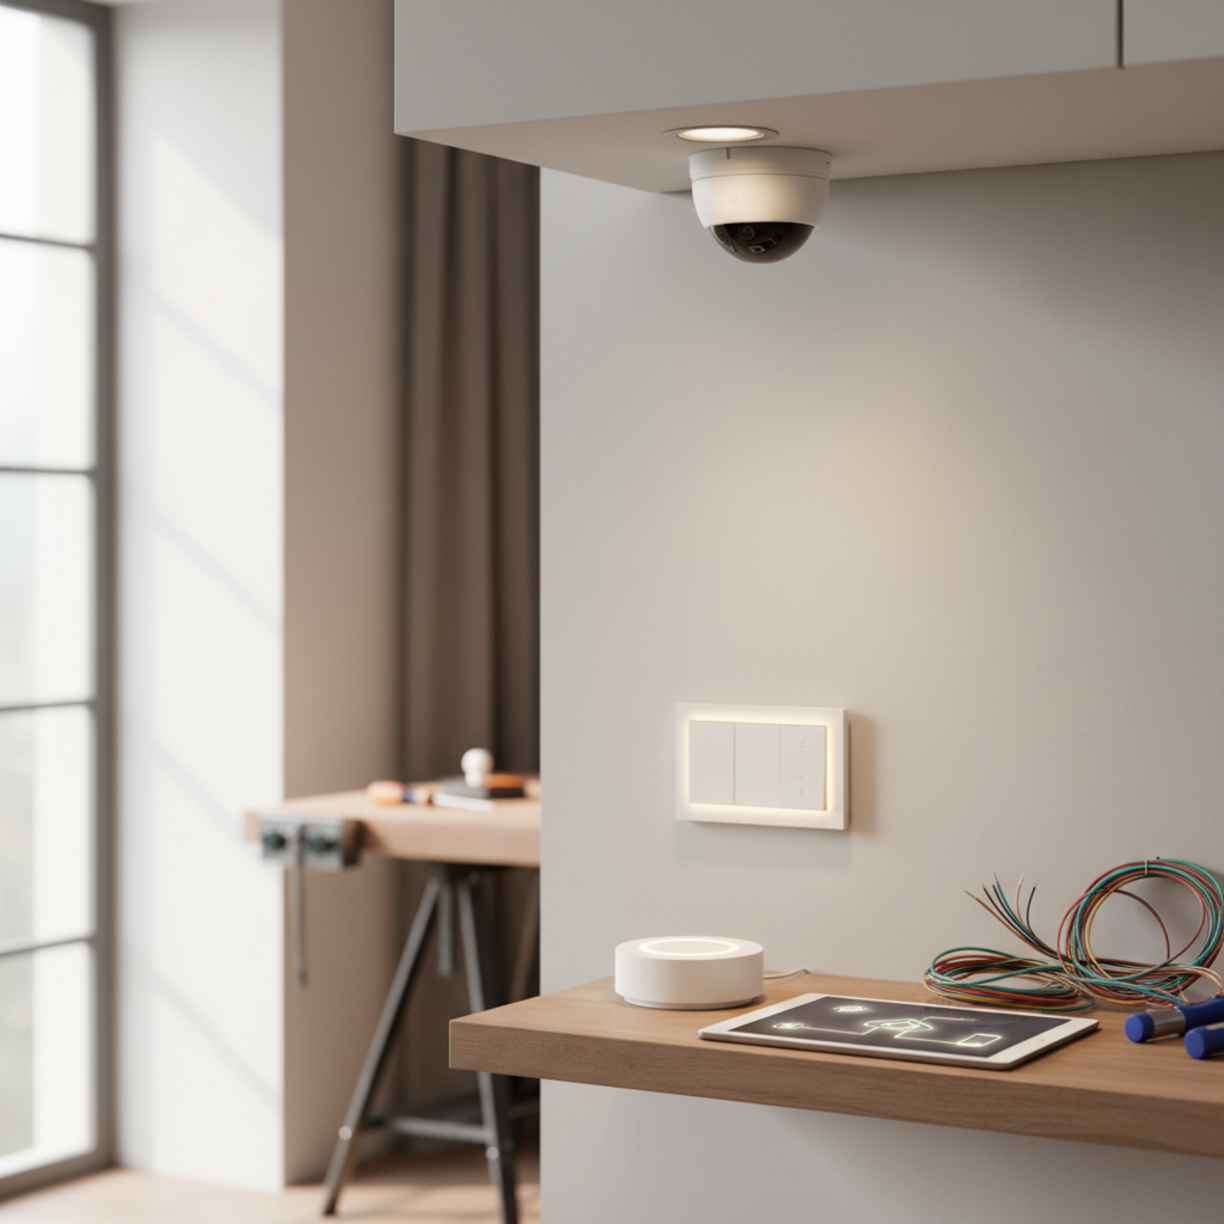
Materials and Components
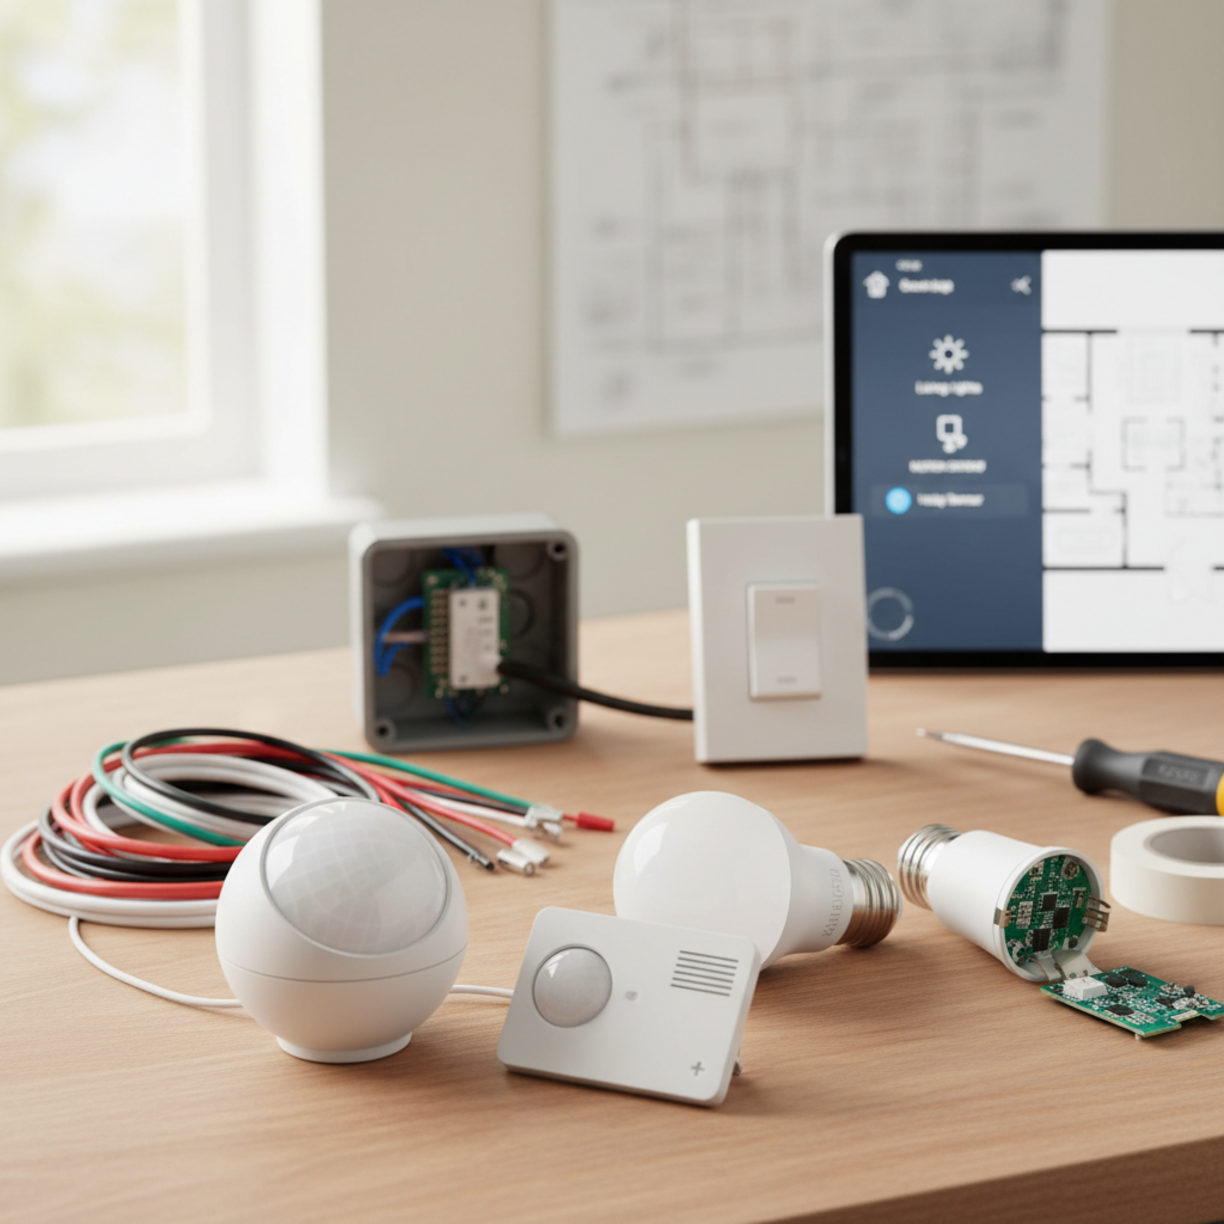
To automate lights with motion sensors, you’ll need a few essential items: a compatible motion sensor (PIR or ultrasonic), a smart relay or dimmer module, LED fixtures, a Wi‑Fi or Zigbee hub, appropriate wiring (14/2 NM cable for most residential circuits), wire nuts, a voltage tester, and basic hand tools such as a screwdriver, wire stripper, and drill.
Choosing a sensor that integrates with your existing ecosystem (e.g., Philips Hue, Samsung SmartThings, or Home Assistant) ensures seamless communication and future expandability.
Table of Contents
Planning and Setup Timeline
Effective planning reduces re‑work and keeps the project on schedule. Below is a typical timeline for a single‑room installation:
- Day 1 – Survey the space, locate power sources, and decide sensor placement.
- Day 2 – Purchase components and verify compatibility with your hub.
- Day 3 – Turn off power, run wiring, and install the sensor and relay.
- Day 4 – Connect the devices to the hub, configure automation rules, and test.
- Day 5 – Fine‑tune sensitivity, time‑outs, and document the setup for future reference.
For larger homes, multiply the steps per zone and allocate additional time for network testing.
How to Set It Up
Follow these steps to get your motion‑sensor lighting up and running:
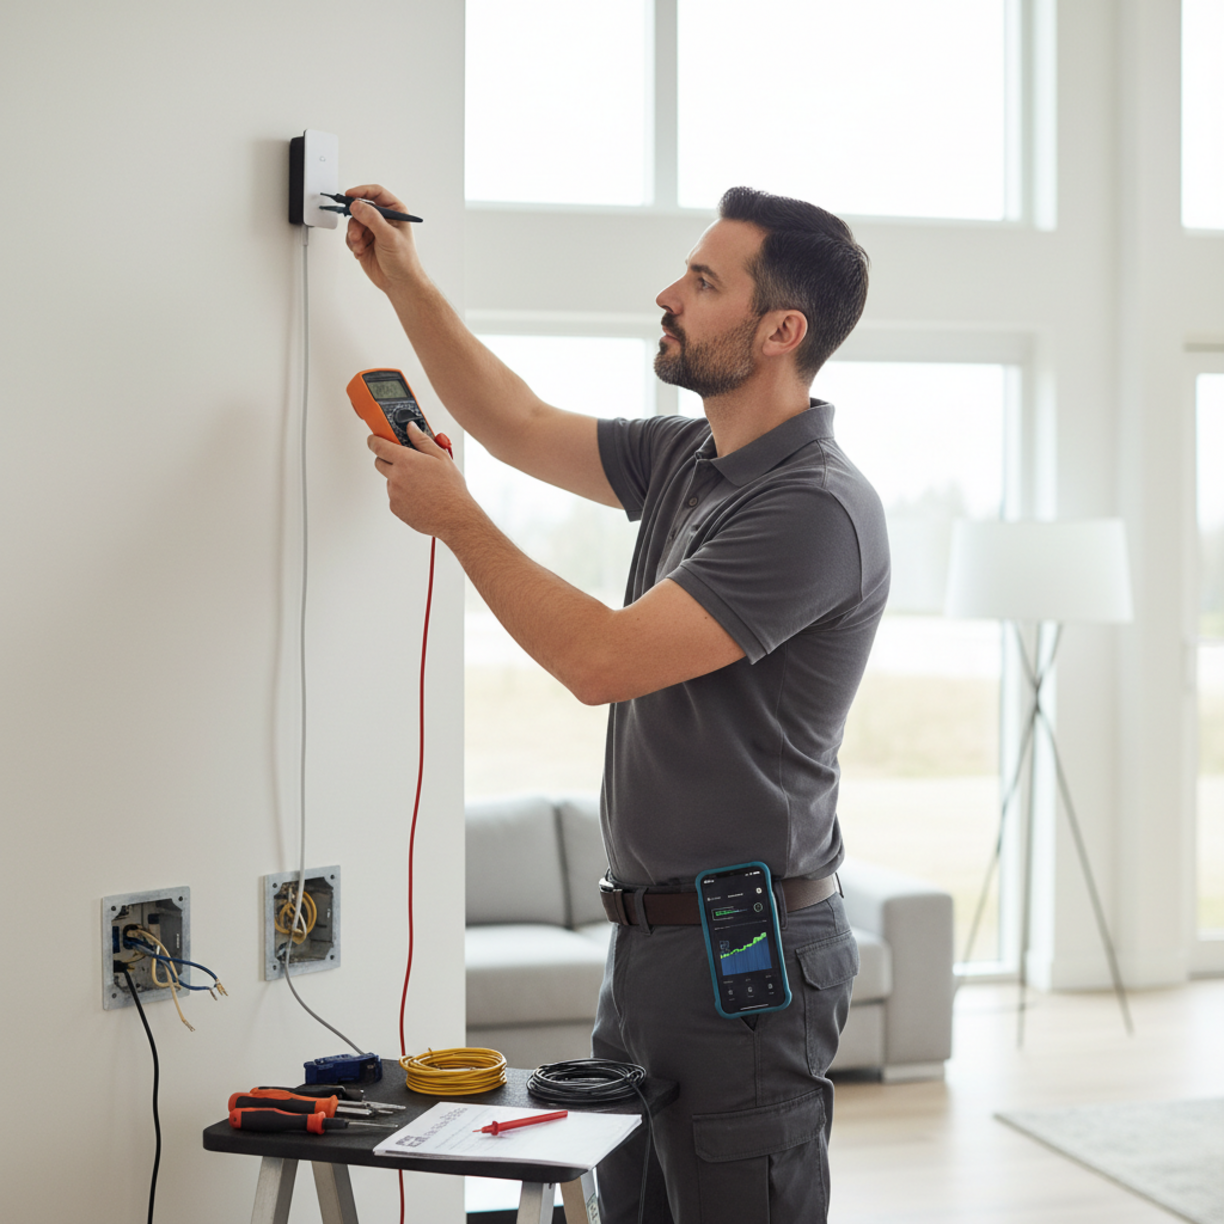
- Turn off the circuit breaker and verify no voltage with a tester.
- Mount the motion sensor at a height of 7–8 ft, angled 45° downward to cover the desired area.
- Wire the sensor to the smart relay: connect line (L) to the incoming hot, load (L‑out) to the fixture, and neutral (N) to the circuit neutral. Use wire nuts and secure with electrical tape.
- Integrate with your hub by adding the sensor via the hub’s app. Most hubs auto‑detect Zigbee or Wi‑Fi devices.
- Create automation rules—for example, “When motion is detected, turn on lights at 100 % for 5 minutes, then dim to 30 % for 15 minutes.”
- Test the system by walking through the area; adjust sensitivity and timer settings as needed.
For detailed guidance on how to set up motion sensor lighting automation, consult the manufacturer’s app documentation, which often includes step‑by‑step wizards.
Key Benefits and Use Cases
Automating lights with motion sensors delivers tangible advantages:
- Energy savings: Lights only operate when needed, cutting standby power by up to 30 %.
- Enhanced safety: Illuminated pathways reduce trips and falls, especially at night.
- Convenience: Hands‑free operation is ideal for kitchens, garages, and home offices.
- Security: Simulated occupancy patterns deter intruders when you’re away.
Common use cases include hallway lighting, bathroom vanity lights, garage doors, and outdoor walkways.
Best Practices and Expert Tips
Implement these proven strategies to maximize performance:
- Place sensors away from direct sunlight, HVAC vents, or reflective surfaces that can cause false triggers.
- Set the “no‑motion” timeout based on room function—shorter for high‑traffic zones, longer for occasional use areas.
- Use LED bulbs with dimming capability to allow gradual light reduction, extending bulb life.
- Group sensors with a single automation rule in the hub to avoid overlapping commands.
- Document wiring diagrams and sensor locations for future troubleshooting.
Common Problems and Fixes
Even well‑planned installations can encounter hiccups. Here are frequent issues and their remedies:
- False activations: Adjust the sensor’s sensitivity knob or relocate away from heat sources.
- Lights not turning off: Verify the “no‑motion” timer isn’t set to “never” and ensure the relay firmware is up to date.
- Connectivity loss: Re‑pair the sensor with the hub, check Wi‑Fi signal strength, or consider a Zigbee repeater.
- Flickering LEDs: Use a compatible dimmer module rated for LED loads; incompatible hardware can cause instability.
Maintenance and Long-Term Reliability
Regular upkeep ensures the system remains reliable for years:
- Inspect sensor lenses quarterly for dust or cobwebs; clean with a soft brush.
- Test the automation monthly to confirm timing and sensitivity remain appropriate.
- Update hub firmware and sensor firmware whenever new releases are available.
- Replace batteries (if applicable) annually to prevent unexpected outages.
Keeping a simple log of changes helps when scaling the system or troubleshooting later.
Conclusion
By following this step‑by‑step guide, you can confidently automate lights with motion sensors to save energy, improve safety, and add a layer of smart convenience to any home. Proper planning, correct wiring, and ongoing maintenance are the pillars of a reliable motion‑sensor lighting system.
FAQs
Can I use a motion sensor with existing wall switches?
Yes. Many smart relays replace the switch’s load side, allowing the wall switch to act as a manual override while the sensor handles automation.
Do motion sensors work with dimmable LEDs?
Only when paired with a compatible dimmer module that supports LED loads; otherwise, the lights may flicker or not dim correctly.
How far can a typical PIR motion sensor detect movement?
Most residential PIR sensors cover a radius of 10–20 feet, with a detection angle of 90°–120°, but this varies by model.
Is it safe to install a motion sensor in a wet area like a bathroom?
Choose a sensor with an IP44 or higher rating to ensure protection against moisture and splashes.
Can I integrate motion‑sensor lighting with voice assistants?
Absolutely. Once the sensor is added to your hub, you can create voice‑controlled scenes in Alexa, Google Assistant, or Siri.
Leave a Reply